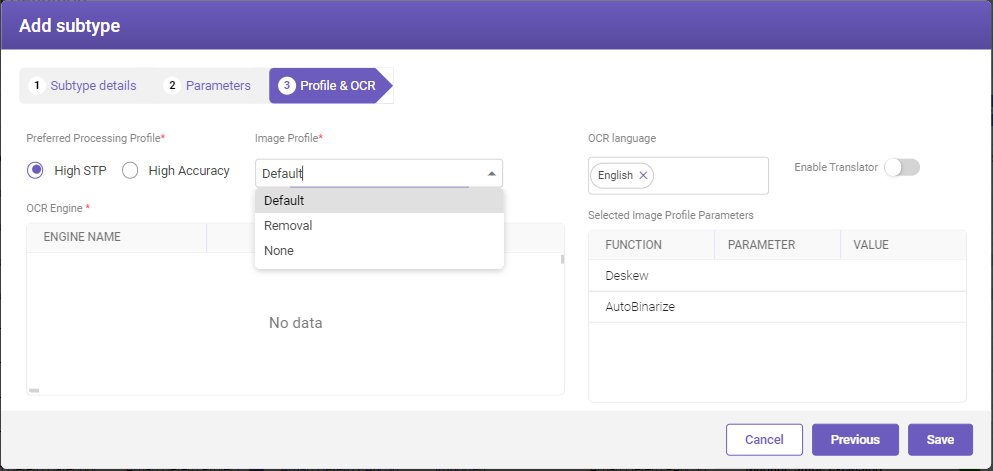
Image Profiling Comparison
The Image Profiling Comparison feature within TruCap+ empowers users to make informed decisions about the optimal image profile for enhancing document processing outcomes. This documentation provides a comprehensive overview of the Image Profiling Comparison, explaining its purpose, functionality, and benefits within the TruCap+ environment. (To know more about image profiles, see Image profiling setup.)
The Image Profiling Comparison feature allows users to compare pre-processed instances of a document that have been generated using different image profiles. This enables users to assess the impact of various image profiles on document quality and extraction results.
Key Features and Benefits
Informed Decision-Making: The Image Profiling Comparison provides users with valuable insights into how different image profiles influence document quality and extraction outcomes.
Effective Profile Selection: By comparing the results of different image profiles, users can identify the profile that consistently delivers the best results and choose to publish it for use in the document processing pipeline.
Enhanced Data Extraction: The ability to select the most suitable image profile enhances data extraction accuracy and contributes to improved processing efficiency.
Comparing pre-processed instances
Follow the steps below to compare the pre-processed instances of a document:
-
To open the Image Profiling Comparison page, go to the main menu, and under TruCap+ Studio, select Image Profiling Comparison.
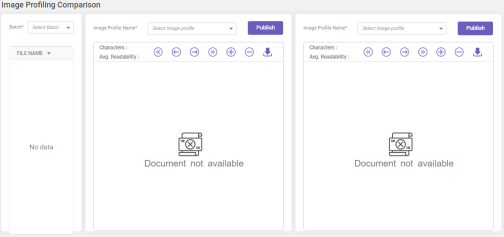
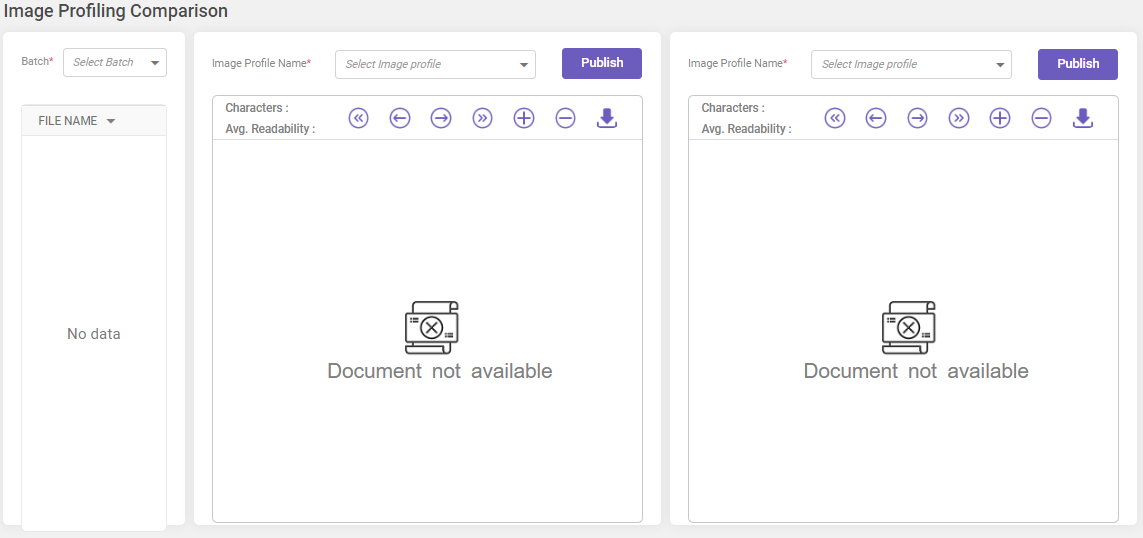
The page has three panes on the left, middle, and right sides. From the left pane, you can select a batch for which you want to do a comparison; from the middle and the right pane, you can select image profiles that you want to compare.
-
In the left side pane, select a batch from the Batch drop-down list for which you want to do the image profile comparison. The list of pre-processed files in the batch will get displayed in the pane.
-
In the middle and the right pane, select the image profiles that you want to compare from the respective drop-down lists.
-
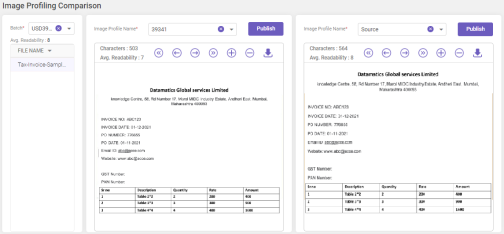
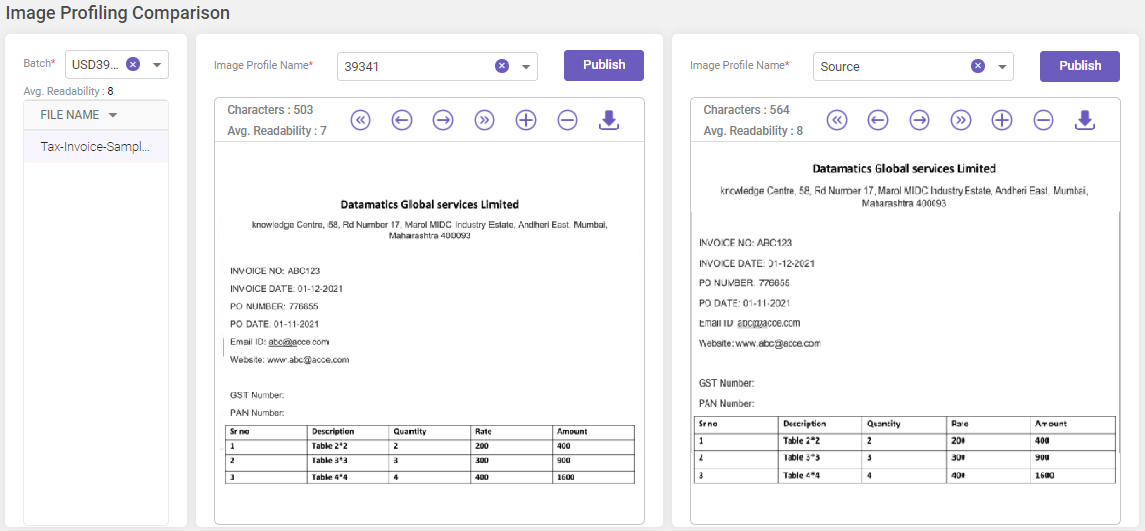
Go back to the left pane, and select a batch file for which you want to do the comparison. Based on the file and the image profiles selected, respective pre-processed images will get displayed in the middle and the right pane.
-
Compare the pre-processed images in the middle and the right pane. Just in case the images look marginally different or almost the same, you can look at the Characters and Avg. Readability values at the top of the pane to find which one is better.
-
After you have found a suitable image profile, you can choose to publish it by clicking on Publish.
-
Click
 icon to download the .TXT file.
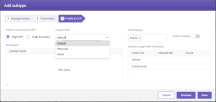
After you publish an image profile, it becomes available in the Image profile drop-down on the Add subtype > Profile & OCR window.
Also, on the Image profiling setup page, the image profile will be marked by a green circle indicating that it is published.
Note
To preview the original image, select the Source option from the image profile drop-down list.